BIG Pottery: Coil Building and Stacked Sculptures

Coil building was one of the first pottery techniques I learned, but it’s not something I do everyday or even every month. I like to use coil building for HUGE pots that are too big to throw.

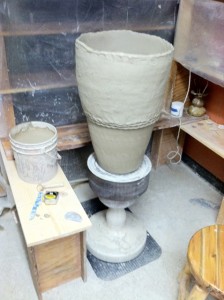
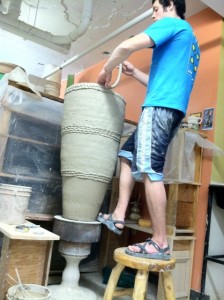
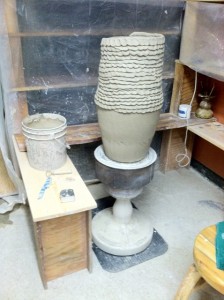
I generally throw the bottom of the pot as big as I can, usually with a 20-40 pound lump of clay. The image on the left shows a pot that was thrown from 25 lbs. of clay and about 12 inches high, before I coiled up another 12 inches.

It’s a lot easier to coil a narrow shape than a wide shape, as wider pots tend to get off-center and want to collapse. I add the coils on top of each other by pinching the new coil into the clay below. My thumb leaves an interesting pattern from this process, and I generally keep this texture as decorative banding lines in the large jars. The image on the bottom left shows the coils after they have been smoothed together. You can see how the smoothing process also begins to form the pot’s profile.
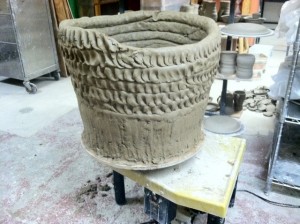
Compared to throwing a pot on the wheel in a matter of minutes, coil building is a much slower process.  The profile of the pot forms over a matter of hours, as the 2-3 foot long coils are individually rolled out and successively added on top of each other.  The pot below was made with extremely thick coils to form a planter.


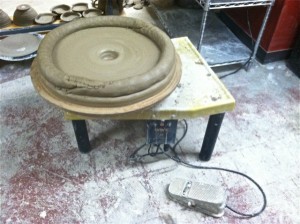
I started with a 35lb. mound of clay for the bottom, thrown 1.75 inches thick.  I left a hole in the middle for water drainage in the finished planter.  Then, I rolled 2 inch thick coils and paid careful attention when smoothing them together.  The finished planter used about 410 lbs. of clay and with the help of some Red Hot Chili Peppers on shuffle, this pot formed in just under 5 hours.  About 100 lbs. of water will evaporate from the clay before the firing, hopefully over the course of 2-3 months to avoid drying cracks.

Another way I often build BIG pots is by throwing pottery shapes, like large bowls and cylinders, and stacking them on top of each other. These combination stacks grow a lot faster but I tend to make these pieces a bit smaller and reserve coil building for the huge pots.
Glaze testing at JD Jorgenson Pottery

I’ve spent the past week and a half firing the small gas kiln at JD Jorgenson Pottery, in order to accomplish a couple things with the Nuka glaze.  At the St. Ben’s ceramics studio, I fired the glaze to cone 12 flat, almost cone 13 (about 2410 degrees F).  At these temperatures, it takes a long time and huge amount of energy to raise even a single degree.  It’s also harder on the kiln, shelves, and clay so it made a lot of sense to try and lower the temperature of the Nuka glaze before my new body of work.

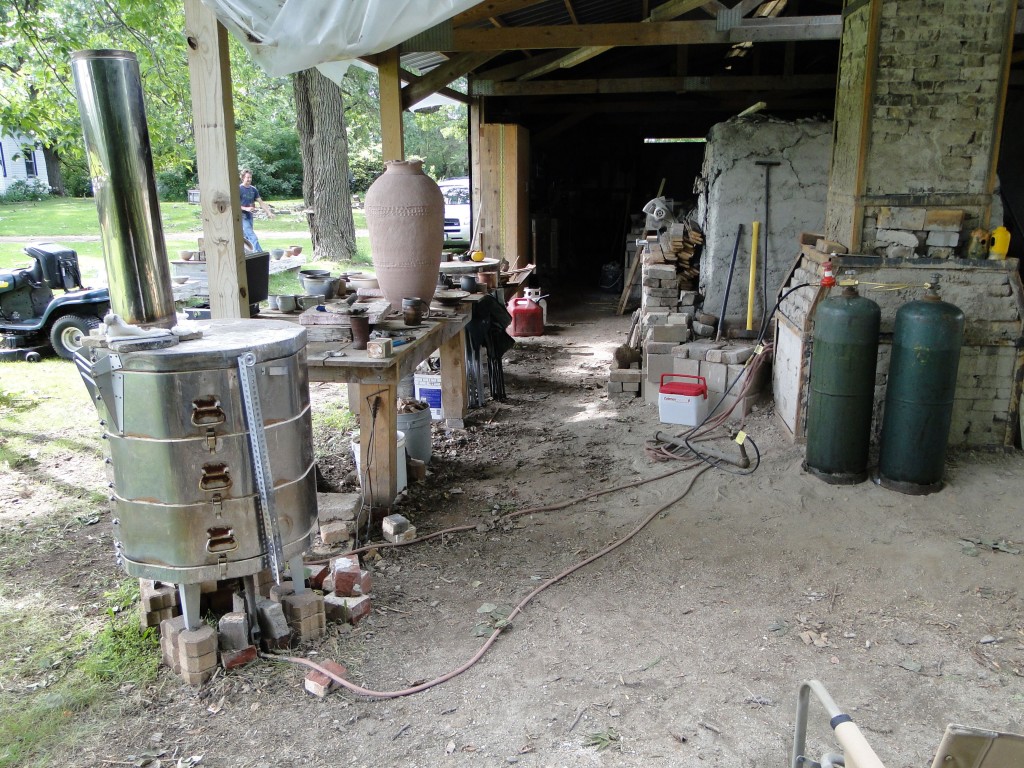
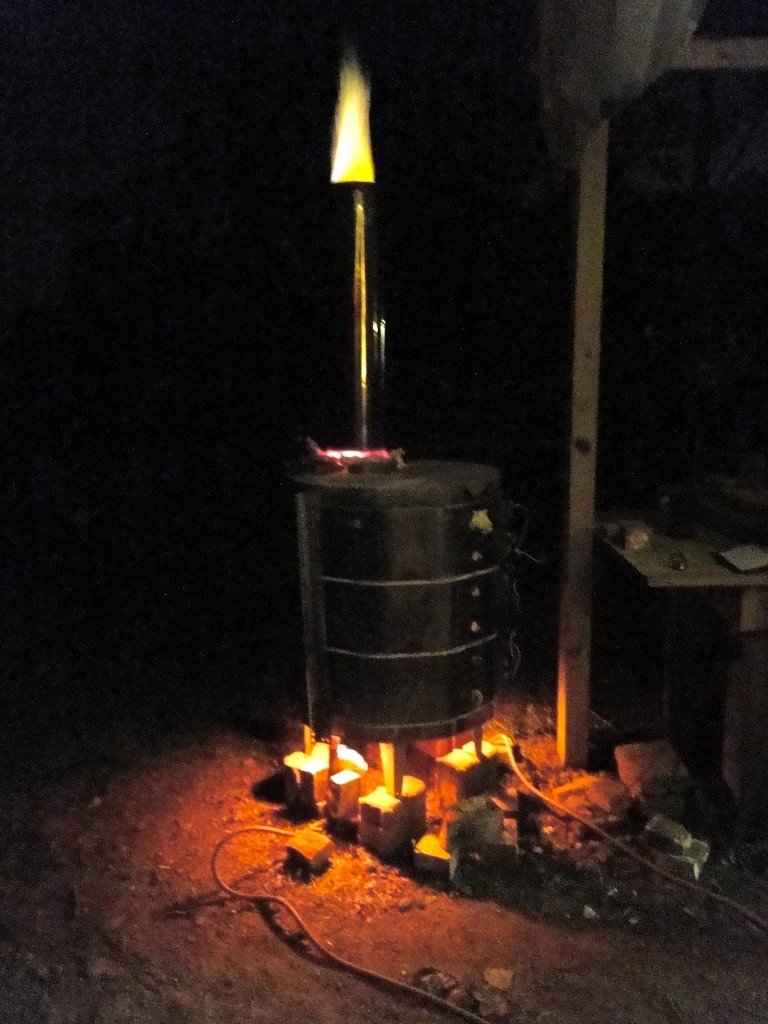
The kiln at JD’s place was made from the shell of an old electric kiln that I salvaged from a high school in Sartell, MN.  They kept the electric box, so JD cut 2 small holes in the bottom of the soft brick to make burner ports.  Firing with gas instead of electricity will also let us test reduction firings very similarly to larger gas kilns.  These practice firings willhelp me for adapting to the Paramount Arts Center gas kiln, which I’m firing for the first time this Monday.  Fresh pots should be out by Art in Bayfront Park the next weekend in Duluth!

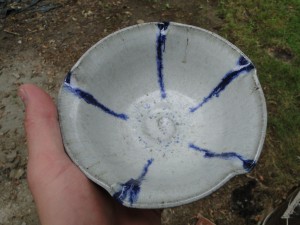
My first firing in this kiln was actually the second time JD fired it, and we got some really nice results.  The glaze fluxed out pretty well at cone 10 (that was our goal) but the bottom of the kiln only reached cone 9.  Also, even at cone 10 there were bubbles present in the glaze.  The Nuka contains wood ashes, which are high in alkali.  Something about the alkali cause bubbling in the glaze at high temperature, and the finished pottery had sharp holes and pits.  Problems like this are common when working with earthen materials, but the struggle is well worth the rustic tones and philosophies behind working from a waste stream system.

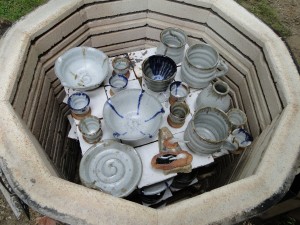
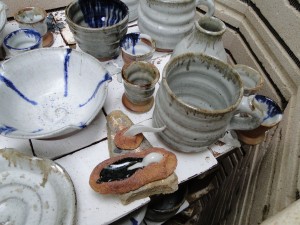
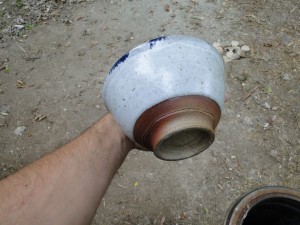
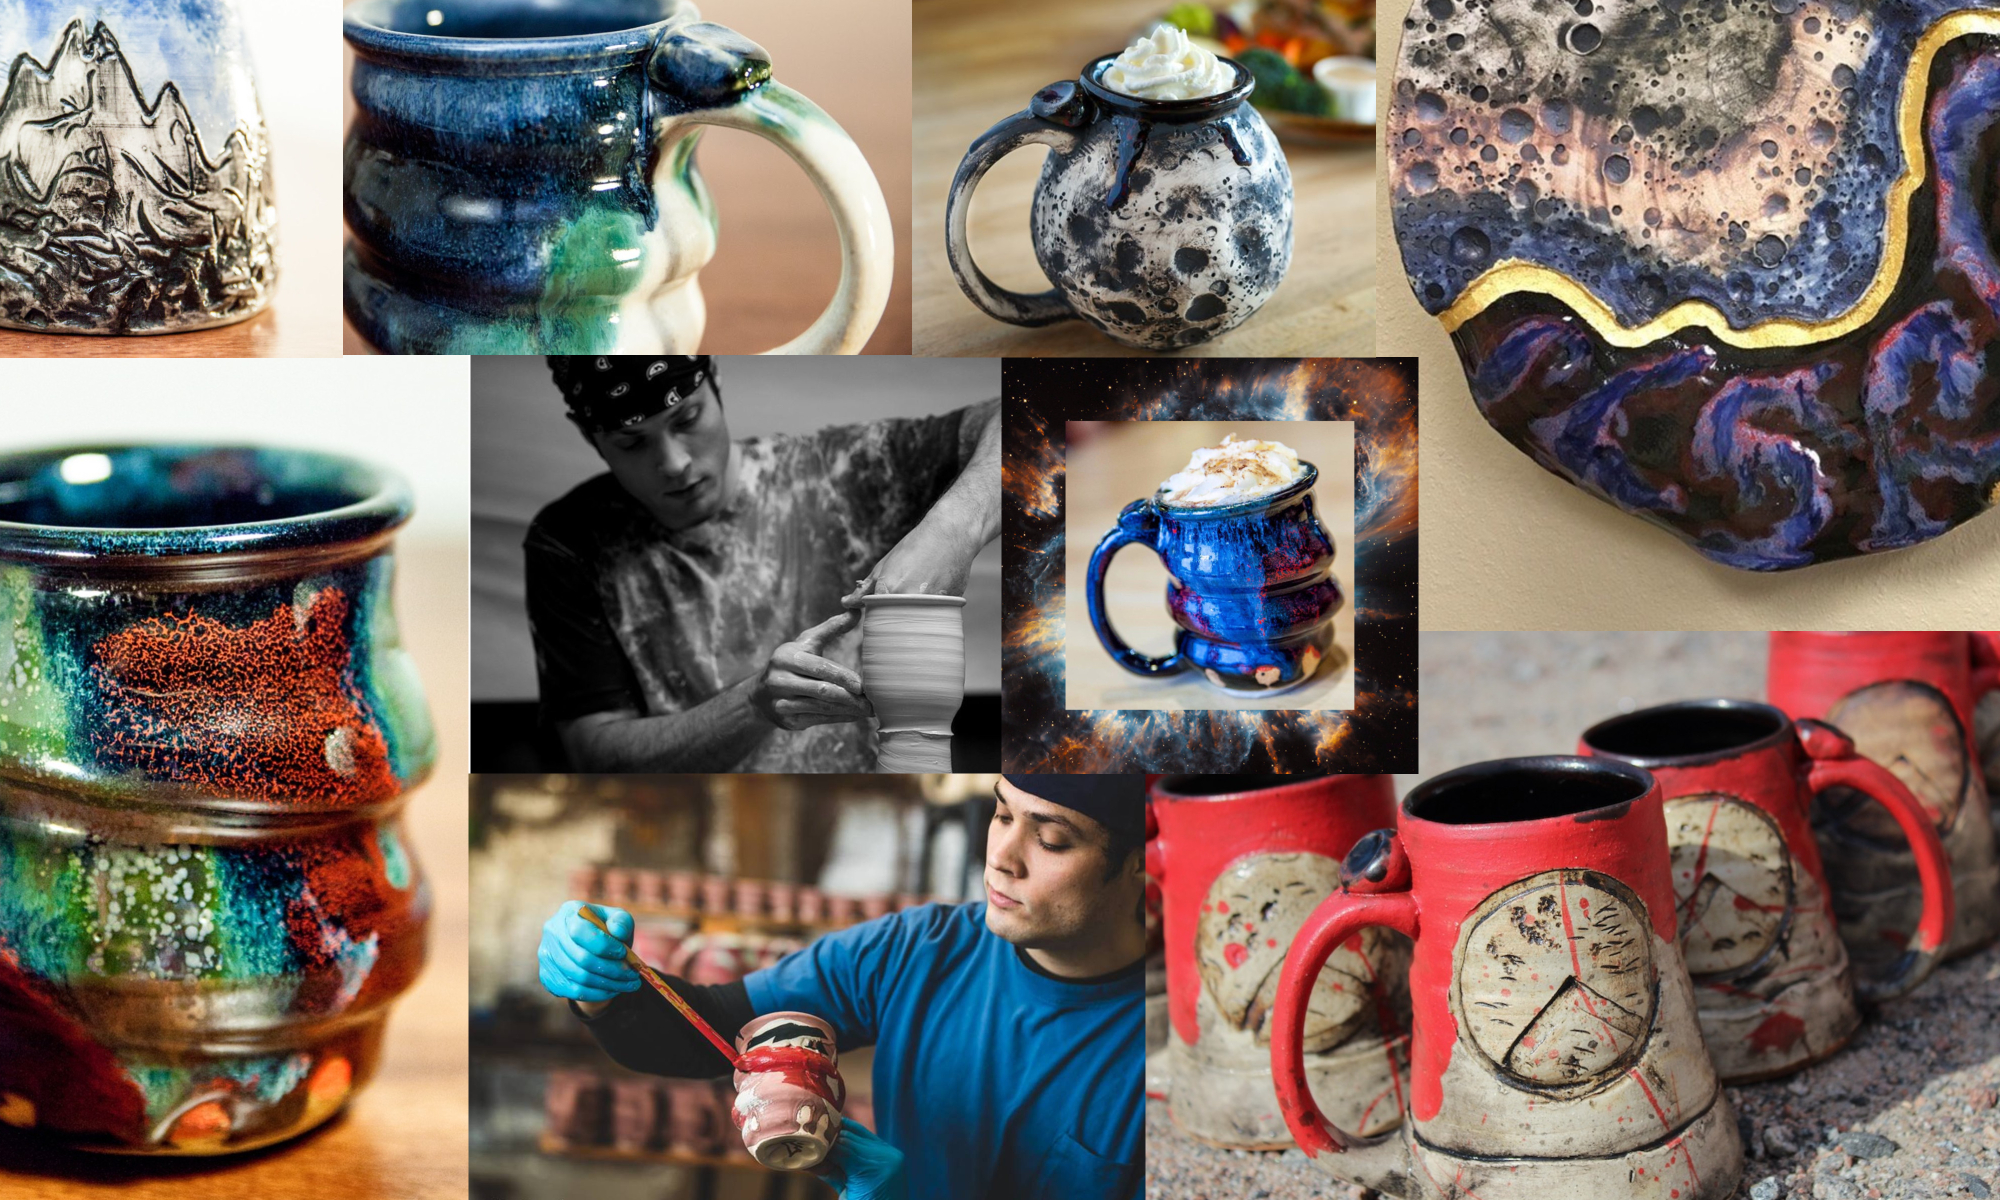
Here’s a few finished pots from the 2nd kiln firing, as well as some underfired ones.  The pieces on top are almost perfect, except for the bubbling where the glaze pooled.


JD and I learned a lot from these pots, but with a 22 hour firing into the night I wasted a lot of time and energy with the stalled out kiln.  The barometric pressure changes every night, and this generally makes it difficult to gain temperature.  Once the sun went down, we were at the mercy of the kiln to go at it’s own pace.  Night firing makes for some cool pictures, but a miserable next morning.

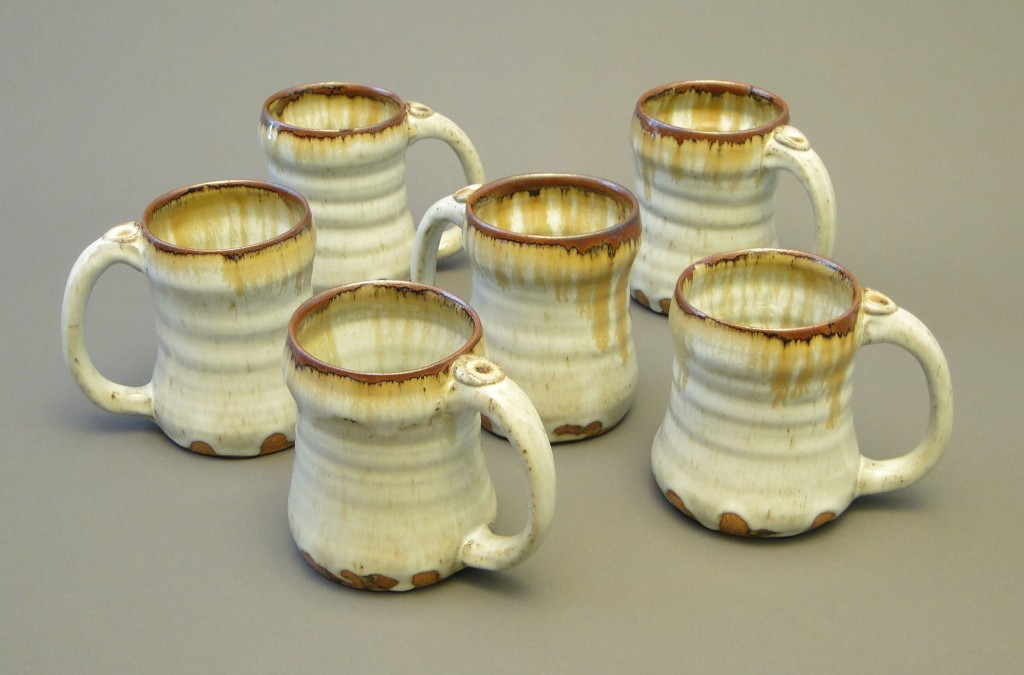
Right now I’m in the middle of the 3rd firing and the kiln is at cone 5 (almost 2200 degrees F).  Once it gets to cone 10, I plan to soak for at least 2 hours, so the bubbles will pop and the glaze will seal over.  At 6 hours in, we’re really close to peak temp and the soak period so things are looking good…definitely better than another firing into the weee hours of the morning uuhg…and hopefully the pots will turn out looking close to this good!