Wood Firing Pottery in Saggars

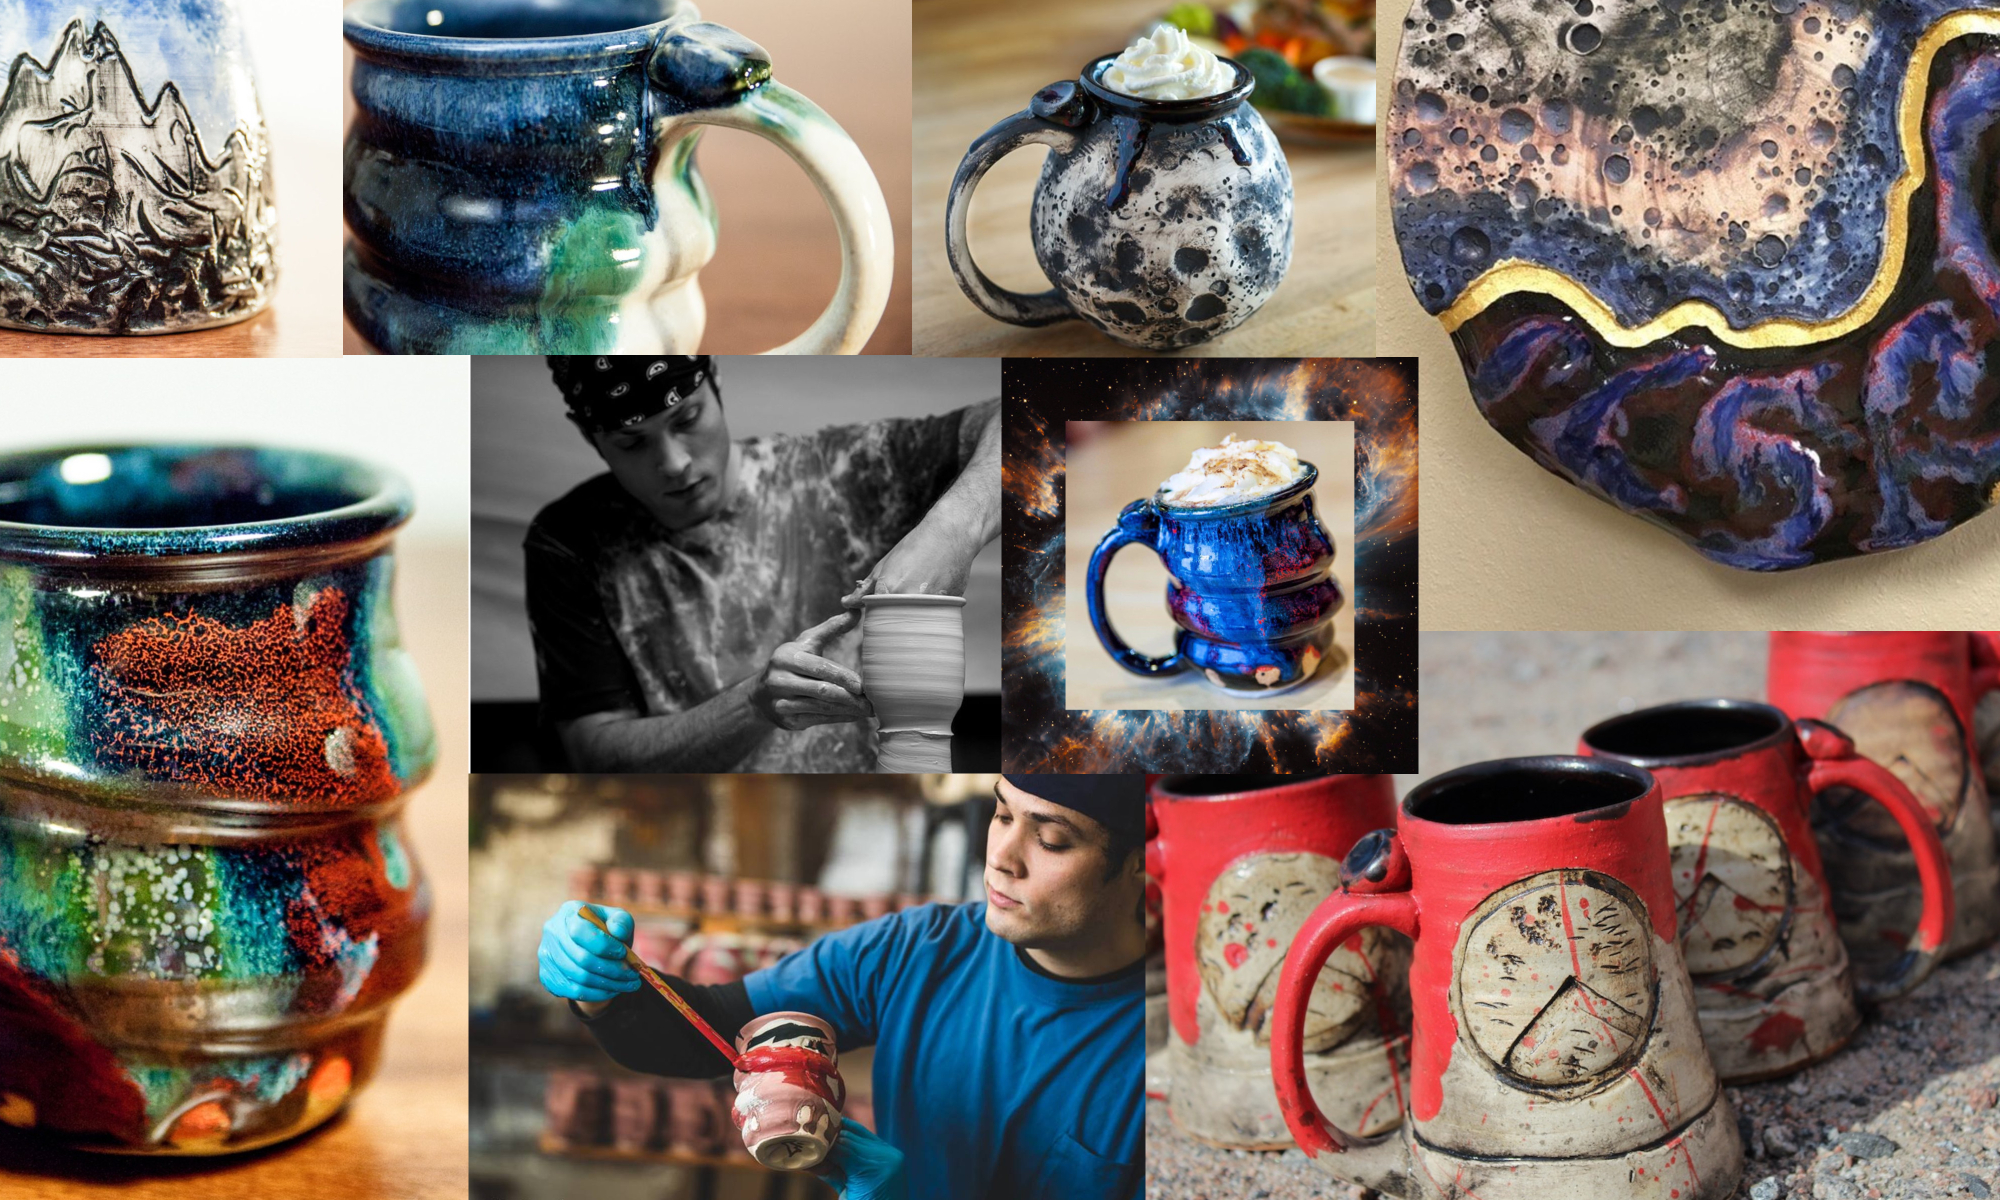
“‘Let the pots speak,’ Mackenzie often says. He’s right: the pots do speak. In their materials they speak of the earth. In their glazes, you will find water, clouds, the colors of the seasons.” – David Lewis, Warren Mackenzie: An American PotterKodansha International, New York: 1991.

Oceanscape-Cups-Joel-Cherrico-Pottery-2008
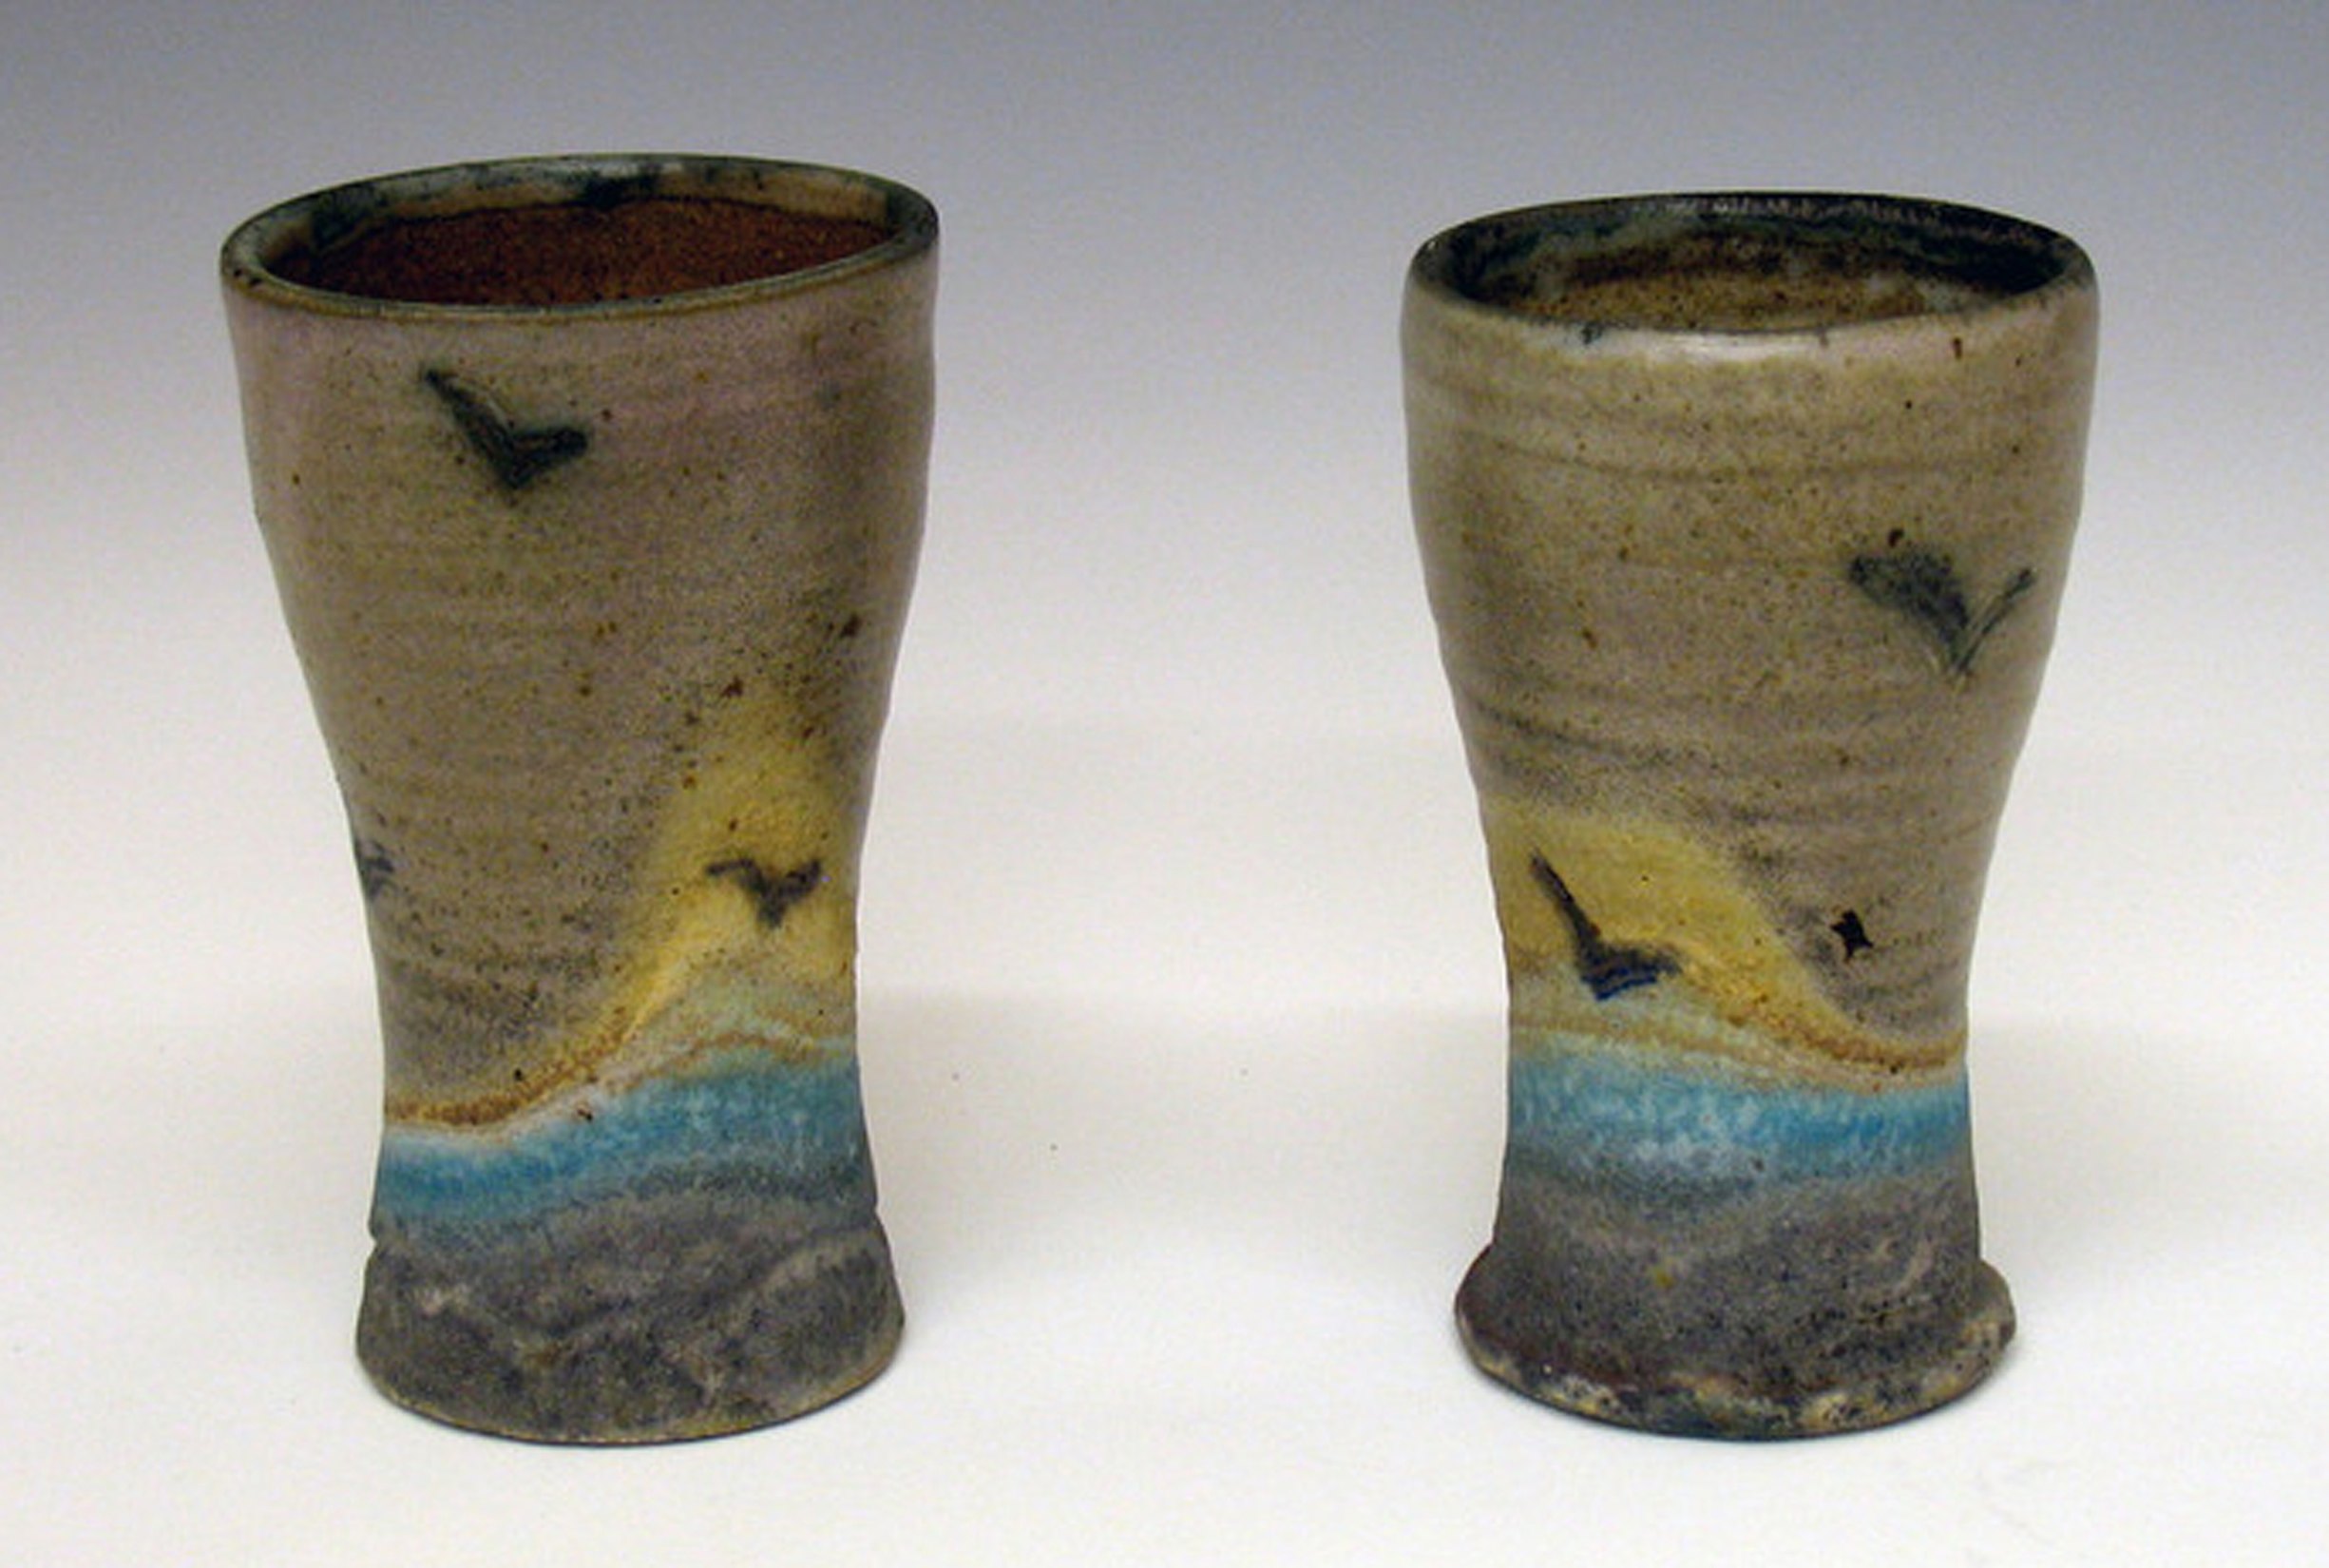
Oceanscape Cups, Stoneware, wood ash glaze, cobalt stain, gas fired, reduction, saggar fired in wood ashes, 2008.

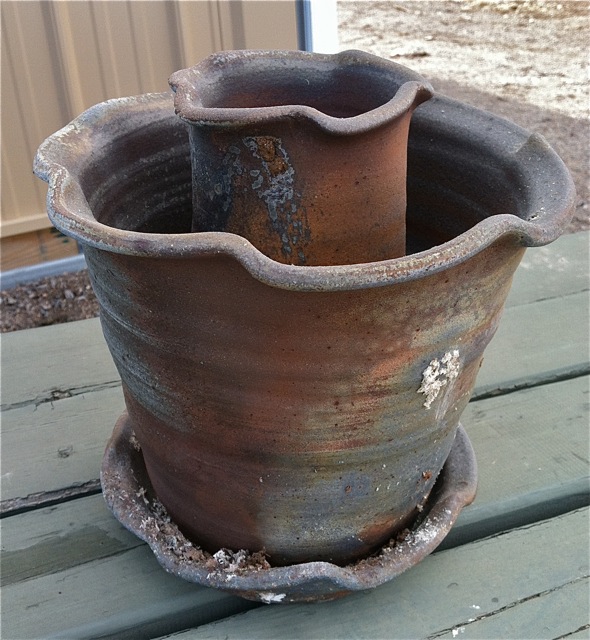
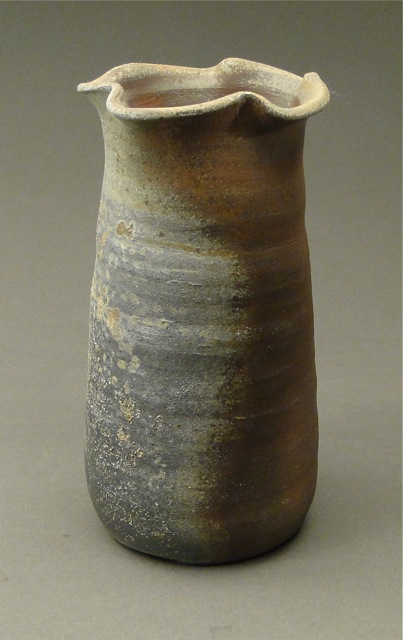
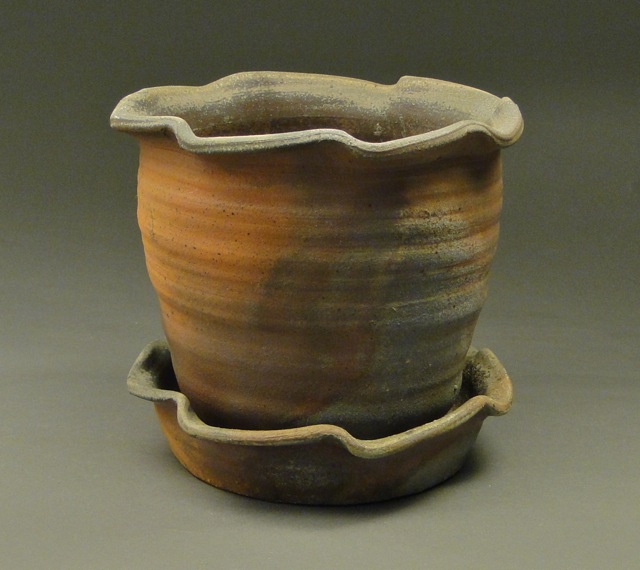
Wikipedia gives a pretty good definition of a saggar. They were used historically for stacking pots in kilns before kiln shelves were invented. Saggars are essentially containers that hold pots in the kiln, while offering an opportunity to affect color. Inspired by this concept, I’ve been experimenting with efficient ways to stack my pots for wood firings, because wood fired pots can be “tumble stacked” on top of each other. I made a new series of wood fired vases, accompanied by planters that acted as a type of saggar for each vase.

Before the firing, I poured a pile of wood ashes into each planter. The ashes melted during the firing and naturally glazed the pots, as you can see on these pieces below that were photographed during the unloading of the S. Dennis Wood Kiln on the College of St. Benedict campus. This was the 2nd firing of the kiln, which was built last summer. Check out this cool article and video about the history of the kiln, featuring my old college professor Sam Johnson:

http://wjon.com/st-bens-professor-builds-kiln-to-ignite-art-interest-video/

Wood Fired Stoneware Pottery, Sagger fired vases in planters 1      Wood Fired Stoneware Pottery, Sagger fired vases in planters 2      Wood Fired Stoneware Pottery, Sagger fired vases in planters 3

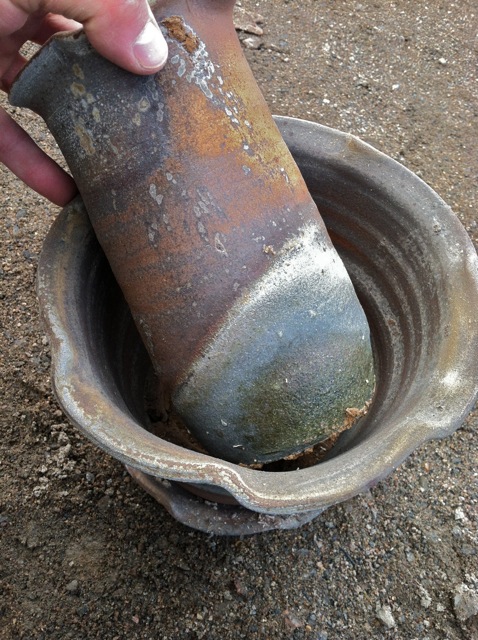
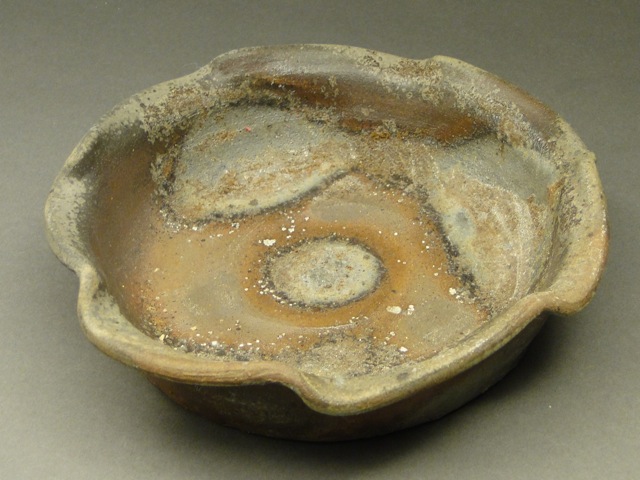
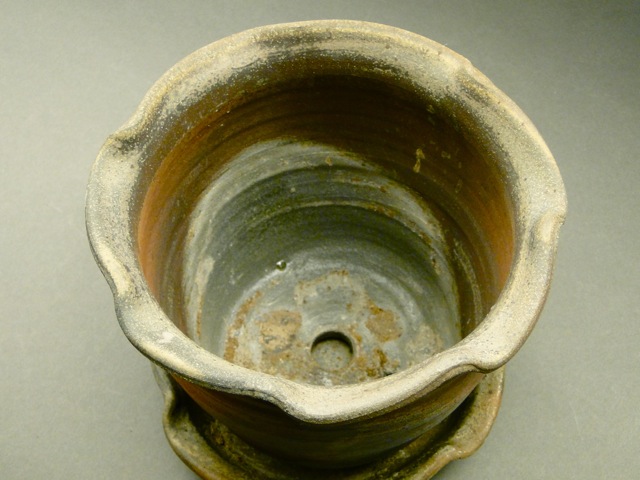
The tray underneath this planter was made to catch water when the pot is planted and finished, but it also worked to keep the pile of ashes from spilling out the bottom hole in the planter. These 2 images below show how the inside of the planter and tray picked up some nice blue-gray hues from the ashes.

Wood Fired Stoneware Pottery Planter Tray, Ash Glazing        Wood Fired Stoneware Pottery Planter Tray, Ash Glazing from Sagger firing

The vases picked up color in about 4 different ways: 1.) the blue-gray bottom from being completely covered in ash, 2.) orange flashing due to flame painting the clay surface, 3.) a dusting of fly ash floating through the kiln, and 4.) greenish, drippy splotches higher up on the vases.

Wood Fired Stoneware Pottery Vases, natural ash glaze 1     Wood Fired Stoneware Pottery Vases, natural ash glaze 2   Wood Fired Stoneware Pottery Vases, natural ash glaze 3 Wood Fired Stoneware Pottery Vases, natural ash glaze 4

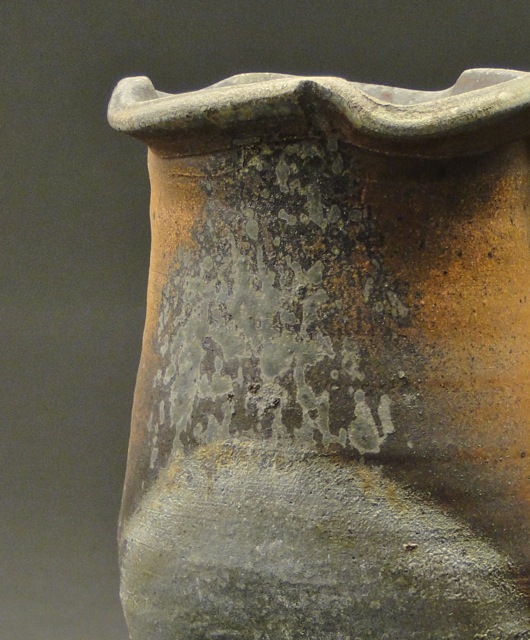
This detail shot shows a close up of the greenish, drippy splotches. I think these are really unique marks because they came from fine particles of ash that stuck to the shoulder of the vase while I was pouring ash into the planter/saggar. The ash sat on the vase until it melted into a green glaze at high temperature, providing some nice texture and color contrast.

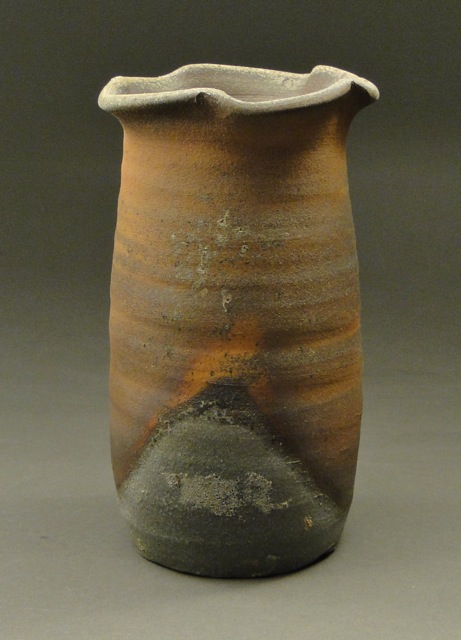
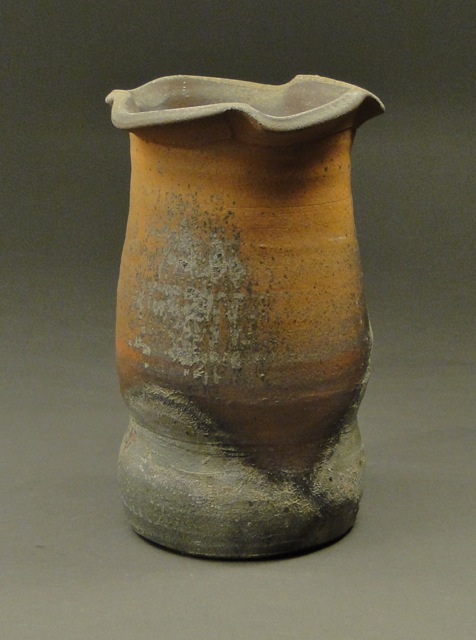
During the wood firing, flame and ashes surrounded the pottery for about 3 days. Most of my vases and planters were near the bottom of the kiln where charcoal built up as we stoked plank after plank of wood into the kiln. The charcoal burned down into ashes, and these pots resulted with similar effects as the planters/saggars that I filled with wood ash. These two pots below were partly buried in charcoal. The blue side is the face of the pot that was covered with coals, while the brown or orange sides were colored by the flame path.

Wood Fired Stoneware Pottery Vases, natural ash glaze 5      Wood Fired Stoneware Pottery Planter

Dick Lehman wrote about these types of surfaces in a 2004 Ceramics Monthly article titled, “Towards a Vocabulary for Wood-Fired Effects.” He referenced Japanese words that have been developed over hundreds of years, and he used these words to describe certain types of wood fired surfaces on his pots. I enjoyed how he gave names to wood fired surfaces because I like the idea of being able to identify and recognize effects from the kiln. He tells how these terms provide “visual literacy,” which is probably much more helpful than the “green drippy splotches” that I described above.

Rustic Pottery: Woodfiring

Copyright 2005 St. John’s Pottery

My interest in something I like to call rustic pottery began in high school, after my first visit to the St. John’s Pottery. I was impressed by the idea of harvesting pottery materials directly from nature, but even more blown away by the colors and surfaces achieved by Richard Bresnahan and his apprentices. I bought the book Body of Clay, Soul of Fire and it sat across from my pottery wheel for the rest of my senior year.  Richard’s pottery was glazed naturally by wood ashes and flame that floated through the 87 foot long kiln, painting the pottery over the course of a 10 day wood firing. He learned these techniques during his apprenticeship in Karatsu, Japan. I tried to replicate his glazes and surfaces in our small electric kiln at Xavier High School and this made for some bright colors, but I was thirsty for the juicy wood fired surfaces.

I finally got to experience the use of natural materials during my freshman and sophomore years at CSB/SJU, interning at JD Jorgenson Pottery.  JD, a former apprentice at the St. John’s Pottery, taught me how to use natural clays in both pottery and kiln building.  We built a 3 chamber wood-kiln over 30 feet long and fired thousands of pots in over a dozen firings.  JD’s kiln produced a huge variety of wood-fired surfaces, so I busted out as many little cups as I could to put them in every nook and cranny of the kiln.  Most pottery was loaded as just raw clay, and each firing taught me more about how flame and wood ashes paint the clay surface.


Even my advisor and ceramics professor, Sam Johnson, was interested in wood firing during his 4 years of my undergrad that he spent firing mostly in gas kilns.  Sam built a wood kiln at the University of Minnesota Morris, which fired he his work in occasionally; however, his gas fired pottery (he called it his “whiteware”) was meant to be shown with his dark, wood fired surfaces. Sam’s process really motivated my interest in gas firing, and his critiques of my glazeware helped me find parallels with my wood fired work.


The wood fired surface continued to influence my pottery for the remainder of college and shows up in my current work. Even with glazed pottery that’s fired in an electric or gas kiln, I look for glazes with rustic colors, surface qualities, and variation that occurs during the firing.  Copper Red glazes provide deep, intense color that reminded me of the bright colors and asymmetrical patterns that Richard achieves on his pottery. The Nuka glaze utilizes local wood ash as the main glaze ingredient, and the ashes make for juicy surfaces with rustic tones.  I brush iron onto the glaze, which drips during the firing as gold and brown streaks as it reacts with the wood ashes at 2500 degrees F.


I’m still amazed how elemental pottery can be: water, clay, wood, and fire are used to make tableware for everyday use, and the earthen materials create a rustic, earthen aesthetic.  Wood firing taught me to give up some control and let the process speak.  The pottery you eat and drink from at the Local Blend is fired in a gas or electric kiln, but it’s influence by the wood fired process and surface.