Upcoming Events: Pottery Shows in the St. Cloud, MN Area

Here’s the list of events Wednesday – Saturday of next week where you can check out my pottery around St. Cloud, MN. I’ll be performing throwing demonstrations and showing my newest pots, so stop by and hopefully you’ll find the perfect Christmas gift:

– Wednesday December 5th, from 10am – 6pm
@ the Atwood Memorial Center, St. Cloud State Campus, St. Cloud, MN

– Thursday, December 6th from 10am – 6pm
@ the Gorecki Fireside Lounge, College of St. Benedict, St. Joseph, MN

– Friday, December 7th from 10am – 5pm
@ Bodiddley’s Pub and Deli in St. Cloud, MN

– Saturday, December 8th from 10am – 1pm
@ Sartell Winter Farmers Market, Sartell City Hall, Sartell, MN

Check out the posters for these events below. Hope to see ya there! If you can’t make these shows be sure to check out my online store: store.cherricopottery.com


Gas Firing Stoneware Pottery at Cone 10: Natural Variations in the Copper Red Glaze

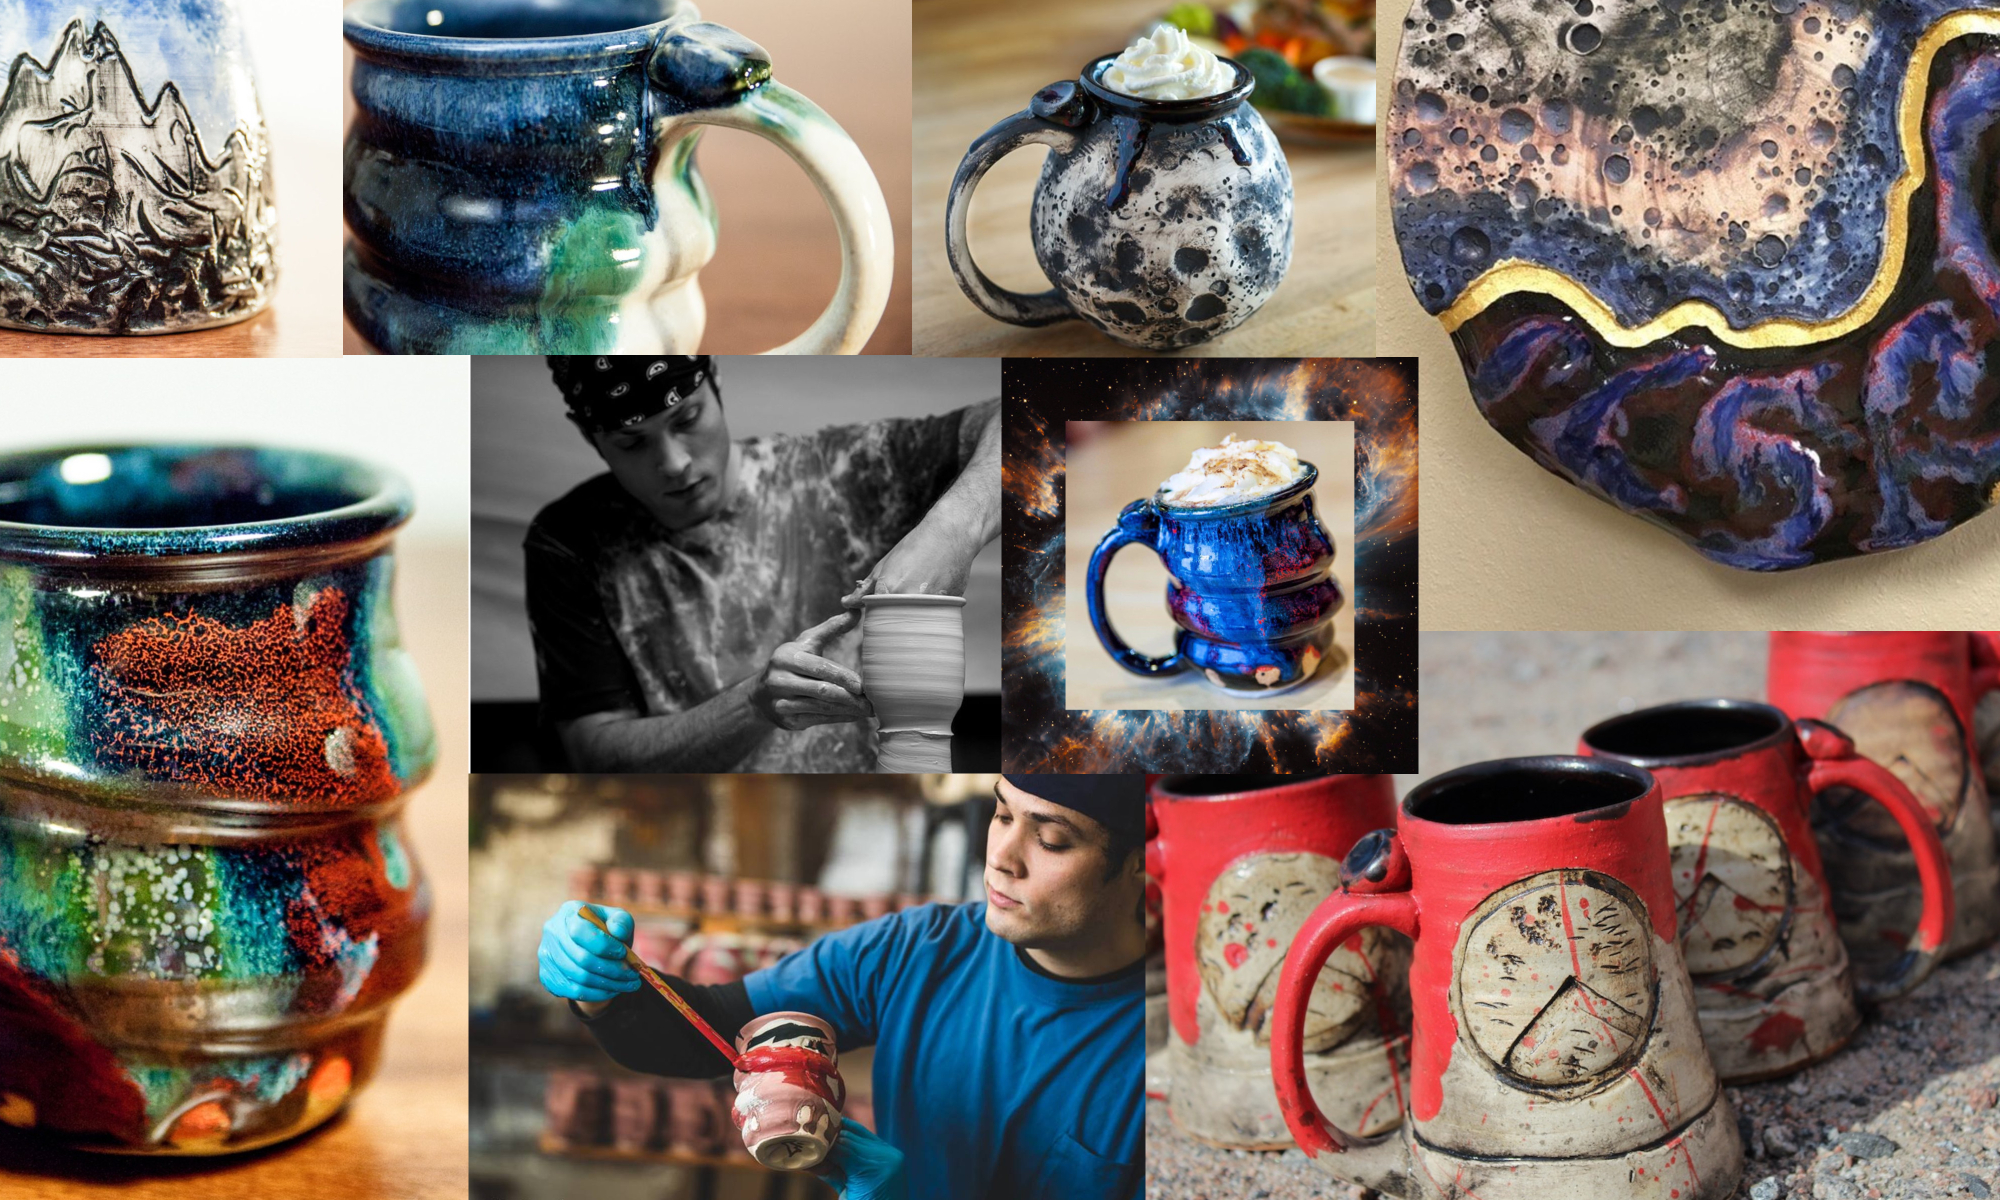
My most recent gas firing produced some amazing color variations. The kiln was filled top to bottom with pots only glazed in my Copper Red glaze. About half of the pottery had great red colors, ¼ had great red but with color variation, and the remaining ¼ were mostly green, pink or gray.  The natural gas flame paints the glaze surface, and potters are blind to this process.

Thanks to my intern Samantha Thury for shooting these images. I many never know exactly how to produce the reddest of reds, but here are some of my guesses:

Bright red/red-orange: consistent reduction and temperature throughout the firing, slower flame path, less oxygen entering the kiln.

Burgundy: heavier reduction. Often gradates to violet, black and then clear.  Seen in areas of the kiln where uneven reduction causes flame to become trapped, and then simultaneously over-reduce and oxidize different areas of the same pot.

Gray-Pink: somewhat of a mystery…consistently seen on the left side of this kiln, and in certain other areas of the kiln. The flame could be slower, causing more reduction. Perhaps there is heavier reduction during a certain point in the firing. This color is often seen next to bright red, but rarely seen next to clear. This could mean that reduction is achieved before cone 5, but perhaps too much reduction is achieved.

Gray: transition color mostly seen from bright red/burgundy to clear, but seen here on a more red/pink to clear transition.

Clear: oxidized. The bottom shelf of most kilns usually results in clear, sometimes with hints of red or violet. Achieving medium reduction before cone 5 and through cone 10 could eliminate clear. I also see clear closest to the burner ports and target bricks, where the flame path is faster and more turbulent.

For all you potters interested in producing your own Copper Red glazes, check my previous blog post for my glaze recipes and firing techniques:

Copper Red Glazes: The Elusive Bright Red Pottery

Also check out “Copper Red Glazes: A Guide to Producing These Elusive Glazes” by Robert Tichane. Read the book, then re-read it! It’s been an enormous help in developing my red, and especially my firing techniques.

Replacing Plastic with Clay: Throwing Ceramic Water Cups for the Local Blend Coffee Shop

Back when I first made pottery for the Local Blend in 2010, I couldn’t make enough to replace their plastic water cups. I wasn’t worried, because I thought the majority of customers would use mugs and dinnerware. They serve food, soup, pastries and a huge variety of coffee drinks, so I wasn’t worried about a few plastic cups here and there. Boy was I wrong…

Plastic water cups made up almost half of the serving vessels used by customers.  The images below show how these cups were really an eyesore; they totally distracted from the pottery.


During the spring of 2011, I made a goal of getting all of the plastic vessels out of the Local Blend. The idea was tough because the restaurant broke too many water cups years ago when they used glass, so they switched to plastic. I had to come up with stable, durable forms.

I also had to fit at least 20 cups within a 14” x 14” space, which was no problem for the stackable plastic cups. I quickly decided my pottery simply wouldn’t stack well, so I designed a custom shelf to fit this space. The shelf was about 13” x 13” which allowed for 4 cups to fit in each row, as long as they were no wider than 3” at the rim or foot. With 3 tiers, it can easily hold 24 cups.


I used a Japanese “dragonfly” measuring tool to ensure that each cup was roughly the same size. This tool is crucial when making mugs for a restaurant, because each mug must shrink to the correct 12oz, 16oz, or 20oz. size. Otherwise that medium iced frappe latte mocha just won’t taste right.

Stop in the Local Blend sometime and you can eat and drink from my artwork! For more info check out the “Pottery at the Local Blend” section of my website.

Wheel Thrown Ceramic Sculptures: Drawing Inspiration from the Pottery Wheel and from Nature

Last week I was throwing some dinner plates and I noticed a really cool texture as I was carving clay away from the wheel. The images below show how I start my 12” dinner plates by throwing a wide cylinder. I cut clay away with my wood knife before folding the lip down into a plate. While carving the clay away, I noticed an interesting squiggly coil.  I kept all of these funky clay coils and assembled them into snail sculptures.

[wppa type=”slideonly” album=”2″][/wppa]

I added a rolled up coil of clay to the backs of these slugs, turning them into snails. I try to use a spiral texture on every piece of my pottery and most of my sculptures.  I like using this texture that occurs so often in nature because it helps relate my clay pieces to the natural world. Clay is harvest from nature, so I like to communicate this in my work. Spirals are found in the natural world as infinite shapes and sizes. Similarly, every one of my pots has qualities that set it apart from the rest. Even when I make plates over and over, no two plates will ever be exactly the same.

These pieces were also inspired by my visit to the Redwood Nation Forrest – totally overrun with Banana Slugs and snails.

[wppa type=”slideonly” album=”3″][/wppa]
These taller sculptures shown below were also made on the pottery wheel, thrown in separate sections then attached. I want my sculptures to give the illusion that they grew from the ground. They remind me of rainforest mushrooms or plants. I’m having trouble coming up with names for these types of sculptures. Any suggestions?

[wppa type=”slideonly” album=”4″][/wppa]